内网穿透Cloudflare Tunnel

本文距离上次更新已过去 0 天,部分内容可能已经过时,请注意甄别。
NAT穿透(内网穿透)
在计算机科学中,NAT穿越(NAT traversal)涉及TCP/IP网络中的一个常见问题,即在处于使用了NAT设备的私有TCP/IP网络中的主机之间创建连接的问题。
会遇到这个问题的通常是那些客户端网络交互应用程序的开发人员,尤其是在对等网络和VoIP领域中。
简而言之,内网穿透就是能把本地端口映射到广域网中的一种方式,对于本地调试网络服务有非常大的用处。
Cloudflare Tunnel
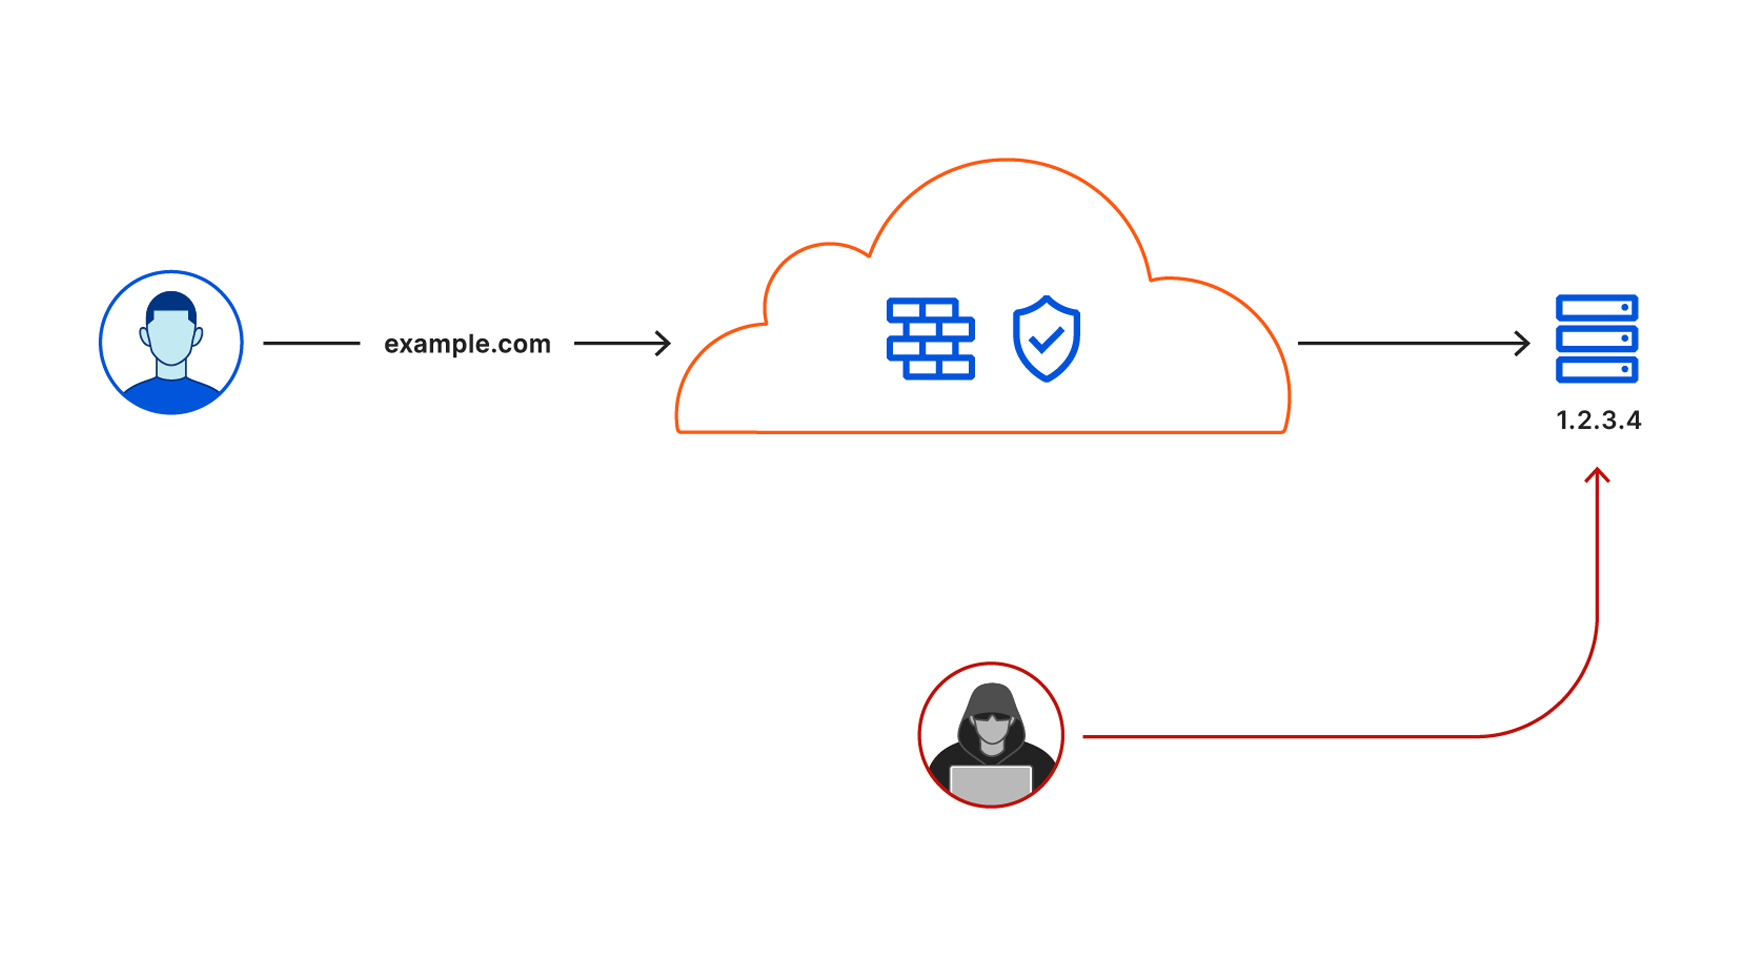
保护您的 web 服务器免受直接攻击
从部署应用程序的那一刻起,开发人员和 IT 人员就要花费时间来将其封锁起来:配置 ACL,轮换 IP 地址,使用像 GRE 隧道这样的笨拙解决方案。
有一种更简单、更安全的方法可以保护您的应用程序和 web 服务器免受直接攻击:Cloudflare Tunnel。
确保您的服务器安全,无论它在何处运行:公共云、私有云、Kubernetes 群集,甚至是电视下方的 Mac mini。
Tunnel | Zero Trust 应用连接器 | Cloudflare开通需要信用卡验证,但不需要付费
配置穿透服务
安装Cloudflared
- MacOS
1
$ brew install cloudflared
- Archlinux
1
$ sudo pacman -S cloudflared
- 二进制安装
1
2
$ sudo curl -L '<https://github.com/cloudflare/cloudflared/releases/latest/download/cloudflared-linux-amd64>' -o /usr/bin/cloudflared
$ sudo chmod +x /usr/bin/cloudflared
登录验证
- 先登录到cloudflare下载证书文件
1
$ cloudflared tunnel login
- 执行命令后会给出验证的链接,点开打开浏览器验证
1
2
3
4
5
6
janz@DESKTOP-OBJON98:~$ cloudflared tunnel login
Please open the following URL and log in with your Cloudflare account:
<https://dash.cloudflare.com/argotunnel?callback=https%3A%2F%2Flogin.cloudflareaccess.org%2FSZMoYnqBQ1-KyfNot7pElB2pxAEec9fYexw-F9CPiGE%3D>
Leave cloudflared running to download the cert automatically. - 选择一个域名授权即可,成功后命令行返回
cert.pem的信息1
2
3You have successfully logged in.
If you wish to copy your credentials to a server, they have been saved to:
/home/janz/.cloudflared/cert.pem
新建一条隧道
每台电脑用一条隧道就可以
1 | $ cloudflared tunnel create <隧道名字> |
成功会生成一个随机UUID的json文件。
1 | janz@DESKTOP-OBJON98:~$ cloudflared tunnel create web |
编写配置文件config.yml
$ vim ~/.cloudflared/config.yml
1 | $ # 新建隧道随机的UUID |
支持的协议参考官方文档:Ingress rules · Cloudflare Zero Trust docs
添加DNS,把域名绑定到隧道
1 | # 配置文件中的hostname域名都需要添加 |
成功后提示CNAME已经添加了
1 | janz@DESKTOP-OBJON98:~$ cloudflared tunnel route dns web app |
启动服务
- 单条隧道
$ cloudflared tunnel run web只要能看到最后有链接到的位置就是成功的1
22023-03-16T09:28:51Z INF Connection 2b409b51-790d-4688-9574-9d15ba76150f registered with protocol: http2 connIndex=0 ip=198.18.13.77 location=SJC
2023-03-16T09:28:52Z INF Connection 3d66e42d-56fa-4a13-868c-5f7e2888453d registered with protocol: http2 connIndex=1 ip=198.18.13.76 location=LAX - 多条隧道,可以指定json文件来启用不同的隧道
$ cloudflared tunnel --config ~/.cloudflared/c090530f-xxxx-yyyy-a6de-645654e2c95a.json run proxy
创建系统服务
对于服务器来说,可能需要服务一直运行,除了可以选用screen、tmux这类工具外,cloudflared本身自带了服务的安装。$ sudo cloudflared service install
然后我们启用cloudflared服务$ sudo systmctl start cloudflared
Enjoy!
评论
评论插件加载失败
正在加载评论插件